Blog
Sell Through Shopify: A Guide to Store Setup and its Benefits By Shopify Experts
Hire dedicated Shopify developers to have valuable insight into selling through Shopify!
The ECommerce world is growing with every passing day. Changes in consumer behavior from shopping offline to online are paving the way to the rise of eCommerce platforms. Almost every size and type of business is shifting online, setting up their own store and selling products and services online. And all this became possible with the innovation of platforms like Shopify and Shopify certified developers who make it possible.
The easy-to-use eCommerce platform Shopify is featured with next-gen functionality assisting businesses to set up their online store and make profits. Within Shopify, you as a business can easily set up an online store covering everything right from building an online marketplace from scratch to integrating social media pages to solutions with shipping, payment, and more.
Undoubtedly it is a great option, but things get stuck, especially when not done correctly. If you are also facing the same, Hire professional shopify developers and keep reading. Shopify store setup at times becomes daunting. Hence, this is why we are here with a brief overview of how you can set up your Shopify store in a matter of minutes. Let’s take a deep dive!
Let’s Know What Exactly is Shopify?
Before we take a dig at Shopify store set up for businesses, knowing Shopify, in brief, is a must. Shopify is a leading eCommerce platform to set up the online store and eCommerce website. It has everything to create an online store like a pro. It is built with several features and functionality, from inventory management, SEO ranking, advanced analytics, payment integration, and customized themes to robust designs. Hire Shopify Developers for the same!
How to Set Up Shopify Store: Step By Step Guide
Now, if you are known to Shopify and have decided to set up a Shopify store, here is a walkthrough of the steps involved in making your journey of setting up an online store hassle-free when you Hire shopify expert. Here we go!
Step 1: Sign Up for Shopify
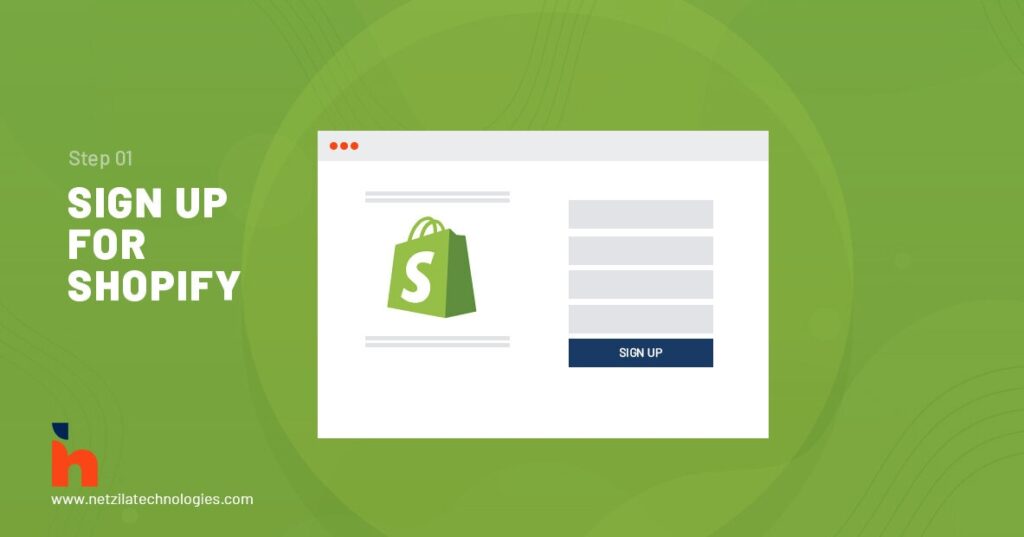
The firstmost step is to start with signing up for your Shopify store. For this, you need to visit shopify.com and get started.
Start with opening an account and fill in all the necessary details like email address, password, and store name. Further, Shopify provides you with a custom domain for the store when done with it. This domain is custom means you can change it without any issue as per your business name afterward. For the time, you can have it for further functioning as it is not permanent.
Pro Tip: Make sure to add all the details correctly as the details need to be verified for further process.
Once you set a custom domain and enter detail, start further.
Guess what! Congratulations! You have signed up for an online store. Next, you will find the tips in dashboards to specify your business plans and choose accordingly. After that, click on the “Enter My Store button” when done.

Step 2: Adding a Product to Store
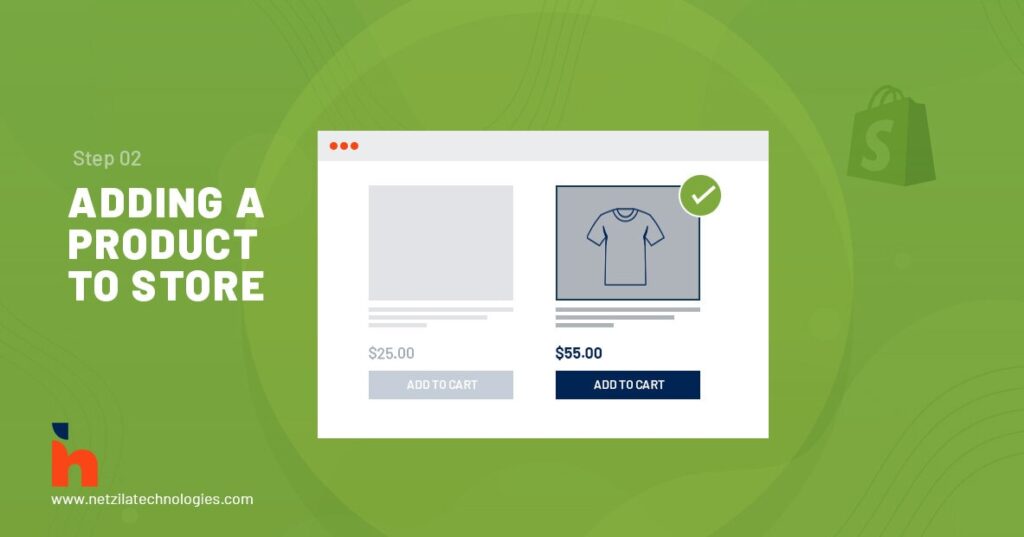
After signup, the journey finally to set store and customize it starts. Here you will find a step-by-step process at Shopify backend to add products.
The first is adding a product whereby clicking you will add the desired product. After that, you need to fill in the product information like title, description, price, and much more for your users to know about the product in detail. Once done with adding product information, the next is to save the product information.
Pro Tip: Add high-quality images for better users engagement. Also, pay attention to adding user-friendly quality information.
Set up the product pages in different categories. E.g., if starting a clothing store, set men, women, kids, and other categories for easy user search. This will help you streamline the store for users and make it easy to find their favorites.
Generate sales by adding products in the right way: Points to Remember.
Product addition plays a vital role in setting a sales scenario within the online platform. Therefore, make sure to make the proper selections to make the things in your favor.
Here is a roadmap to add a product in the best possible to make it profitable for you:
Know what to sell
When choosing the product, knowing the consumer choice is a must. Take time to choose the product. Ensure it fits well with your product marketing strategy. Know your product potential in the market, gather the profit, analyze the data.
Rest, when you visit Shopify.com, you get a brief idea about the product idea helping you to select the right product for your eCommerce store. Take time and go for the best product idea.
Browse Other Stores Products
The next thing is to keep a check on the trending stores and their product choices. When you go through the different products, you know their most selling products, selling lists, promotions, offerings, and much more. This data plays a vital role in helping you to know the user’s favorite products.
Also, browsing other stores will let you know the strategy you can imply to get the most out of your stores. Browsing lets you know what’s popular in different categories. Hence, you get valuable information about the same.
Avoiding Broad Categories
This is another tactic that will help you know about the product categorization for better user reach. It is best to go for a product niche that the leading eCommerce stores do not notice. This is because when you start selling those niches, you can have better sales.
E.g., Starting from selling plus-size clothing, yoga accessories, travel accessories are some of the unnoticed niches.
It is best to avoid the common and broad categories as it will not work in setting the competitive edge.
Sell Products that are Less than $60
The best the price you set, the more you are able to fit best in the list of buyers. Setting a price range between $50 to $60 is best. This price range will undoubtedly give you good profit; the conversion rate is usually high as the buyer will take less consideration to buy the product. The sales are higher, and profit is more.
Know Product Trends
Analyzing Google trends is another way to know the trending products and their demands. Keep a check on searches, get the top product demands and know how far they are ruling the market. Fitness leggings, wooden sunglasses, fashion accessories are highly sold products online with stable positions.
Step 3: Customize the Store As Per Your Business
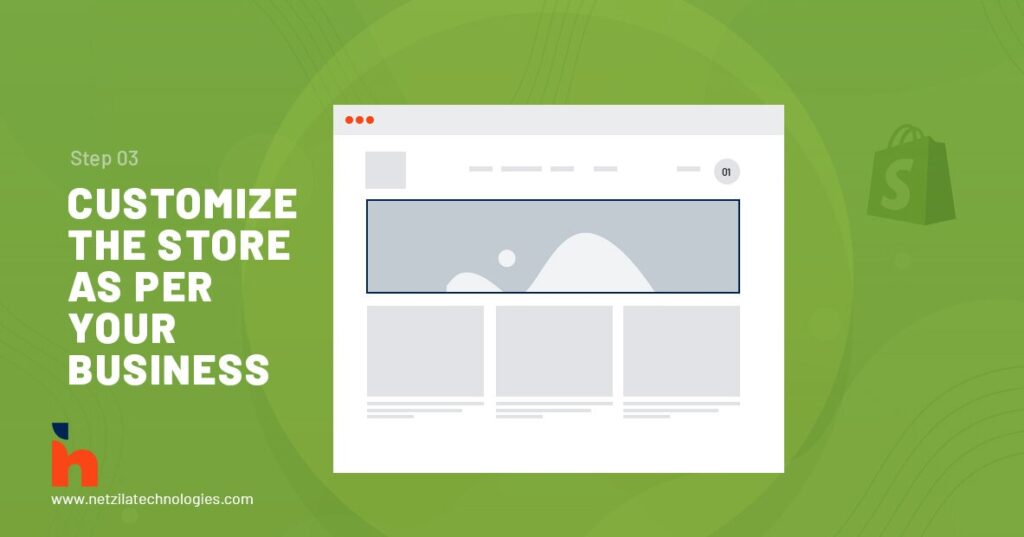
Next is to customize and set the store as per the business needs. For this, you need to move back to the main dashboard and customize the look of the site button. The further it will ask you different aspects of the store. Here you can customize themes, designs, images, brand color, logos, site colors, and much more.
Pro Tip: Make sure to customize the store, keeping the trend, market, competitors, and business in mind to stay ahead of the competitive edge.
The process is consuming and tricky, but it is essential to make it user-oriented. Here is what you can customize in this step:
- Fonts
- Color schemes
- Items that appear on the page
- Product functionality
- Homepage Carousel Slides
- Store Logos

Step 4: Setup Domain with Shopify
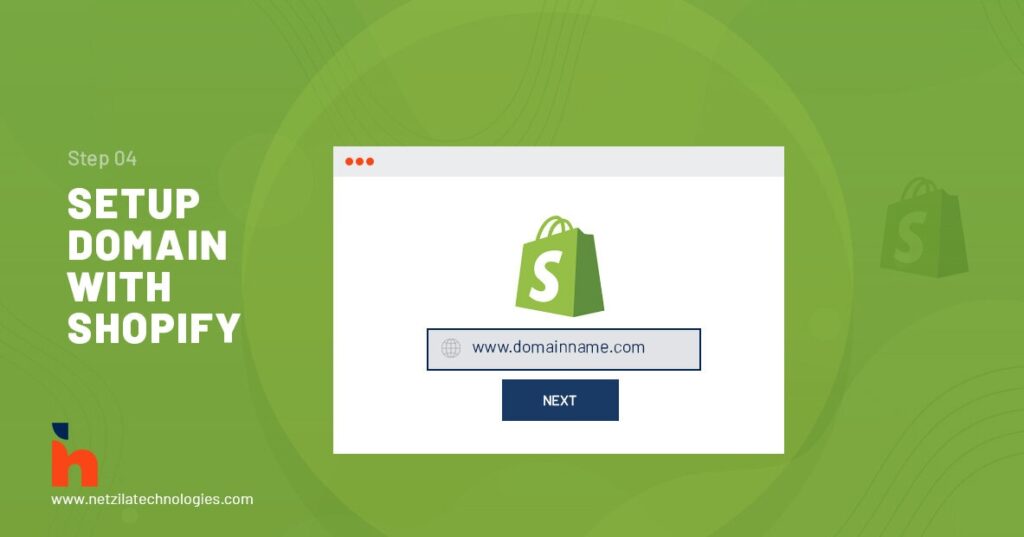
After you customize the store themes, design, and logo, the next is to set a domain and eliminate the custom domain you placed in Step 1. The domain selection is essential to make your eCommerce store official and make it live. Go to the dashboard and click on Add a Domain button.
After that be, you want to transfer the domain of your existing platform, register a new one get started. Select the domain you like and go ahead to buy it. Further, specify the payment mode to buy the domain for easy process.
Now, here two cases come at the front. First, you can purchase a domain from Shopify itself and add it directly to the store, or secondly, you can buy a domain from anywhere you wish and add it to Shopify. The choice is entirely yours!
Once added, it will get activated, and by clicking it, you can view the website. And rest it’s done!
Step 5: Activating Payment Processor

Last but not least is integrating the payment processors within the store is another important step as per the Shopify certified developer. For this, you need to go to the left of the dashboard, where you will find the option of payments. Click on the payment tab and select the payment processor you need. Be it Stripe or Authorize.net, there are several payment processors available with Shopify. Go through the different payment processors and choose the one that suits your needs the most.
As per the Shopify experts for hire choosing the best payment processor depends on several factors, including transaction fees, card types, offsite checkout, security, and much more. Therefore, check all the elements and choose the best for yourself.
Pro Tip: When visiting Shopify.com, get a brief insight into all the payment processors and decide accordingly.
And last, you get your Shopify store set with a payment processor integrated within it.
Final Words
Hope the above information helps you a lot in easy store setup via Shopify. As an eCommerce business owner, integrating Shopify is amongst the best option as per the Shopify experts for hire. With several features, it lets businesses get ahead of competitive marketing. So, what are you waiting for? Hire Dedicated Shopify Developer to get started on your journey within the eCommerce world by setting up your own store in Shopify. Visit Shopify.com to learn more in detail.


